Culinary Class
How to Care for a Cast Iron Skillet

Recently, my boyfriend became the new owner of a cast iron pan. He’s just starting to feel out the culinary world and a piece of cast iron seemed like a solid and versatile investment. He stripped off the packaging and set it on the stove for what I thought was going to be a thoughtful examination. In fact, he was about to use the instrument—without seasoning it!
Before anything touched the surface I quickly pulled out last January’s issue of TLP and found Bryan Hunter’s tips for seasoning and maintaining a cast iron pan. You see, cooking on cast iron is not as simple as using your everyday cookware. It needs to be carefully prepared and cared for to ensure the natural non-stick surface and essential seasoning aspect. Below are the steps Hunter suggests for proper maintenance. They were mighty helpful for us and I hope they work wonders for you as well!
HOW TO PROPERLY SEASON YOUR CAST IRON PAN

With a little preparation and maintenance
cast iron cookware will last for generations.
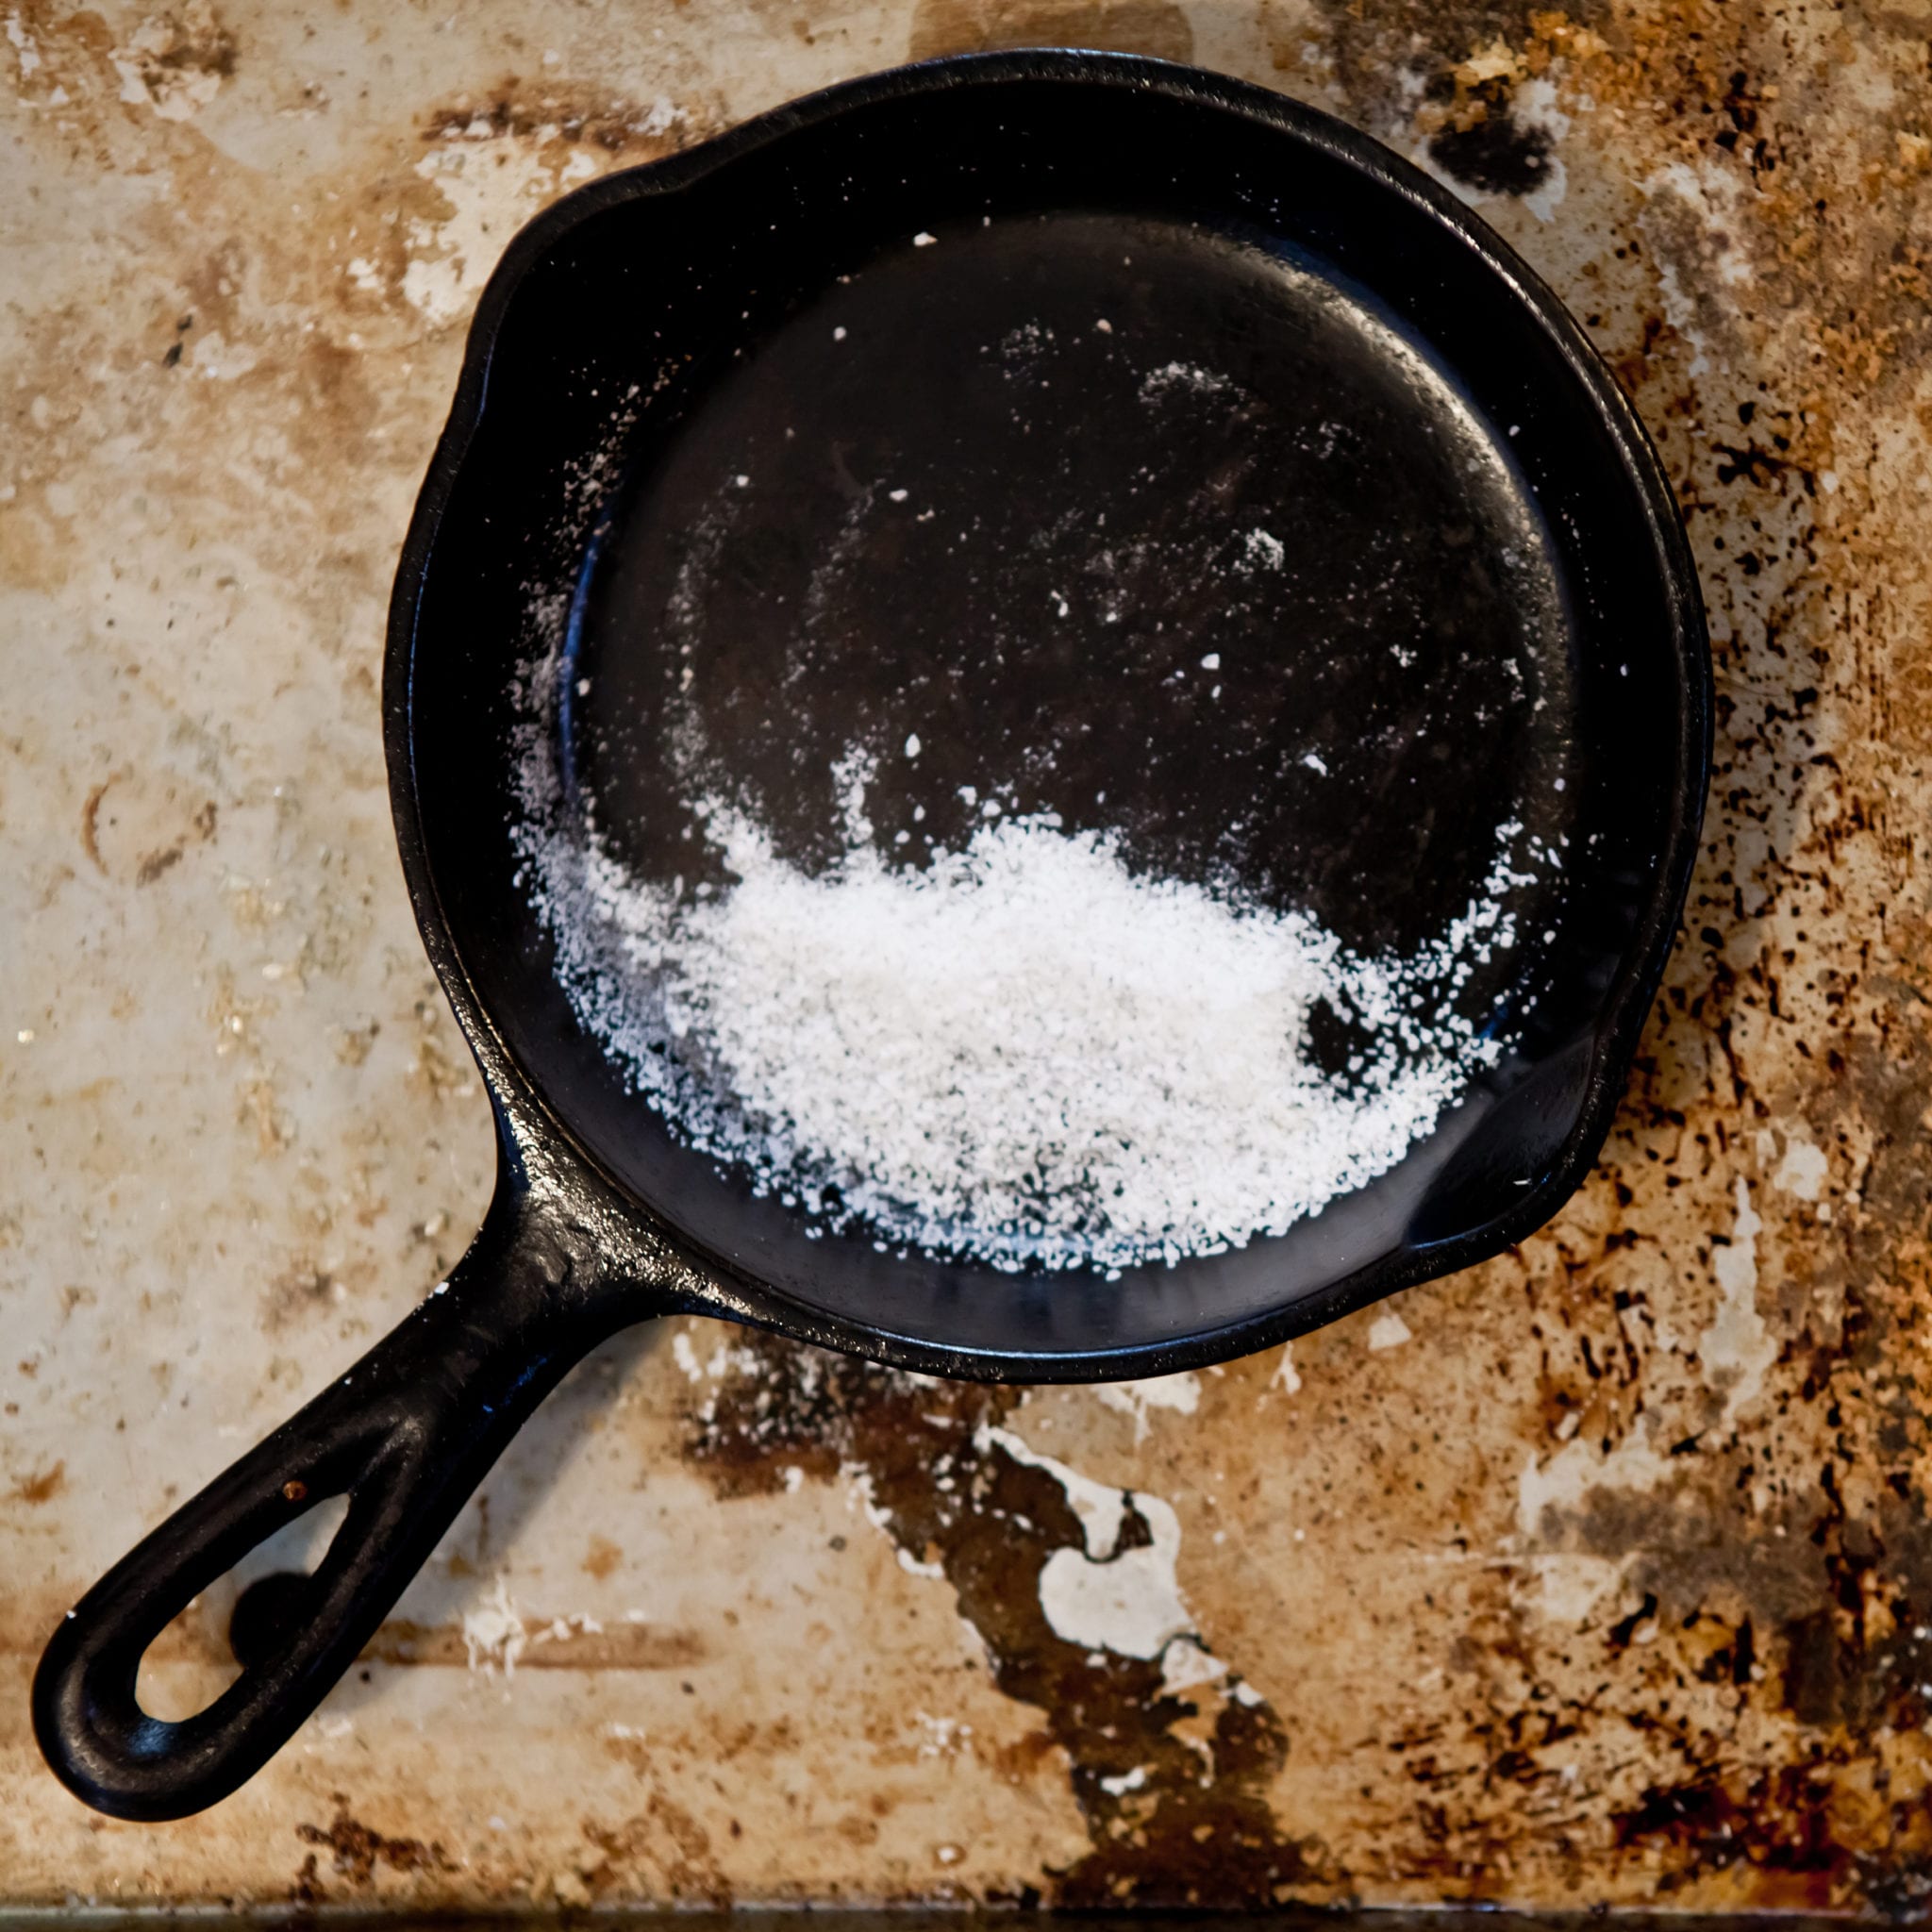
- Rinse any new piece of cast iron cookware. Dry it thoroughly (it's not a bad idea to dry it in a warm oven for an hour or so to ensure that it is thoroughly dry). Once the cookware is completely dry, fill the bottom with coarse kosher salt (Chef John Ondo of Lana in Charleston, South Carolina is adamant that this type salt be used).
- Use a rag to thoroughly scrub the inside of the pot. Make sure to hit the sides as well as the bottom of the interior. The salt acts as an abrasive to smooth the inside surfaces of the pot as well as a cleanser. Dump all the excess salt from the pot (it's perfectly fine if a little residual salt remains inside the pot).
- Preheat the oven to 350 degrees. While the oven heats, thoroughly coat the entire surface of the pot—inside and out, including the handle—with fat. John prefers to use duck fat (“One of the benefits of working in a restaurant is that I always have plenty of the stuff,” John says). For those of us not so blessed with oodles of the precious commodity, John recommends plain lard. Although more industrious, cooks with some time on their hands can use fatback, which works wonderfully once rendered into oil. Benighted souls who are squeamish about animal fat can use plain old vegetable oil. Whatever you use, “Don't just wipe it on the surfaces,” John emphasizes. “Be sure to rub the fat in real good.”
- Since some of the fat will run off once the cookware is introduced to heat, place the pot on a large cookie sheet to prevent the excess oil from dripping into the bottom of the oven and creating a mess. Place the cookware on the cookie sheet on the center rack of the oven and leave it for 45 minutes.
- After you remove the pot, and while it is still warm, you can use the rag to remove any excess oil. Rub the interior oil well into the pot while it is still hot and the metal is expanded. Once the pot has completely cooled, it is ready to use.
- To clean up, “never, ever wash it with soap and water,” John admonishes. Modern detergents contain degreasers, so using them on seasoned cast iron reverses the seasoning process. Instead, simply heat the pot, introduce coarse kosher salt as you did before seasoning, and scrub the cooking surfaces thoroughly. Dump out the salt and rub in just enough fat (as little as a teaspoon should suffice for a standard skillet) to coast the interior of the pot. If some stubborn food particles stick to the pot after cooking,put the pot on the stove until the food bits almost start to burn. Then scrape up the bits with a spatula and dump them before proceeding with salting and oiling as usual.
If you inherit old cookware or find a piece at an antiques or flea market that has a bit of rust, do not despair. One caveat: some very old cast iron pieces will have tripod feet. Such pots were designed for cooking with coals on an open fireplace and so aren’t adaptable for use on a modern range, but they are ideal for a campfire. A wire brush or fine steel wool applied with some elbow grease should rehabilitate the pot to the point that it can be re-seasoned. After removing all the rust from the pot (both inside and out), simply follow the same seasoning process that you would with new cookware.
Following these simple steps, you will have transformed a new cast iron dutch oven or skillet into an heirloom, or you will have rehabilitated a vintage piece that promises to last for generations.
share
Related
A Home Cook’s Guide to Cast Iron
We sat down with Isaac Morton of Smithey Ironware to get his take on [...]
Grillin’ & Chillin’: Cast Iron Roasted Chicken
Craft Butcher Rusty Bowers demos how to roast whole Springer Mountain Farms chicken in [...]
Summer Camping Recipes
The Local Palate shares a love story with outdoor living, plus camping recipes that [...]


