8 hours
Makes 1 loaf
Plus, receive 10% off at the Local Palate Marketplace
The beauty of baking is that it’s both a science and an art. For Patrick Evans and Jason Becton of MarieBette Café and Bakery in Charlottesville, Virginia, this is literally the case with their stencil series, which features the faces of noteworthy members of the Black and LGBTQ+ communities for Black History Month and Pride Month, respectively. (Watch them transform a cake into the likeness of Edna Lewis here!)
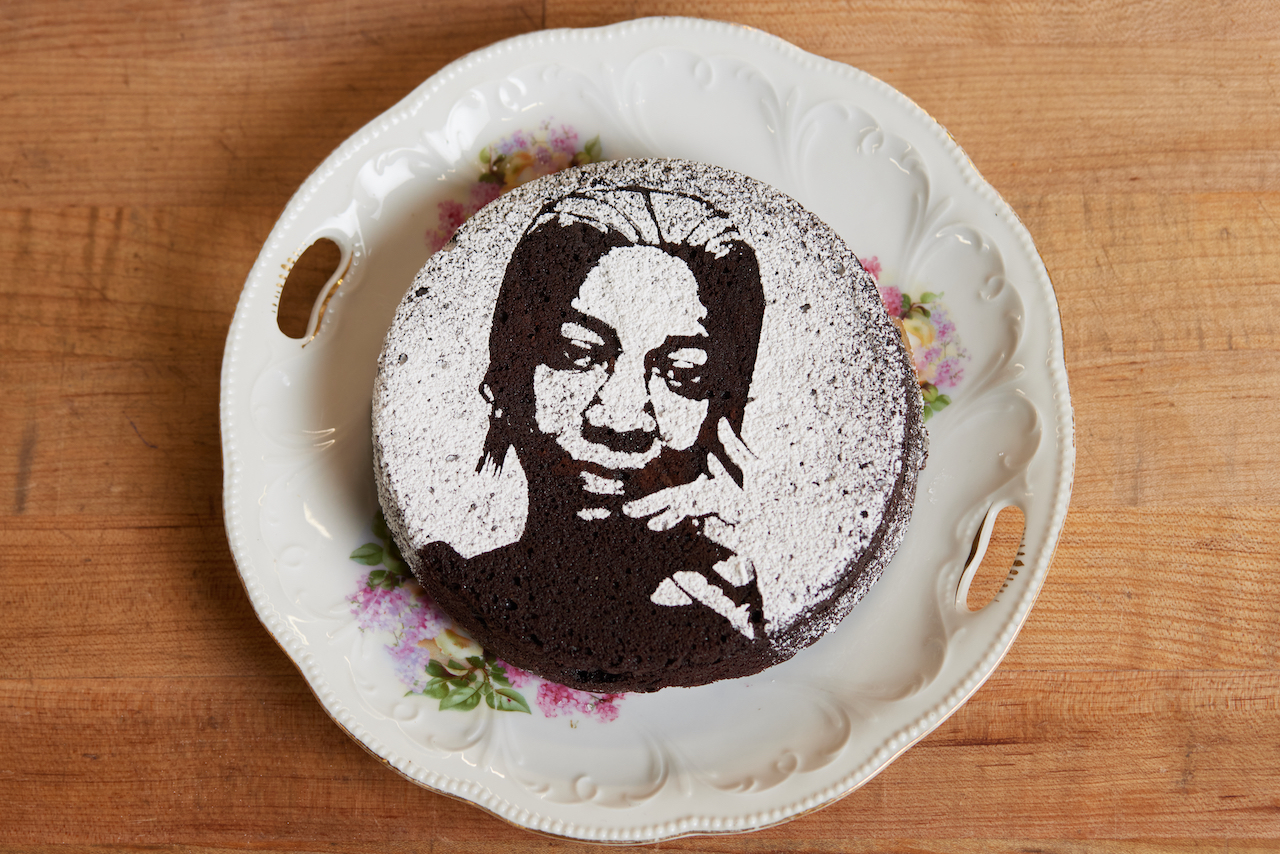
Although they now cut the stencils using a machine to keep up with demand, they started out creating them by hand with an X-ACTO knife and a to-go container lid. “Patrick has a background in art so he’s able to look at these images and imagine how the negative would look when you’re doing a stencil of what would make the best shadows and lines,” Becton says.
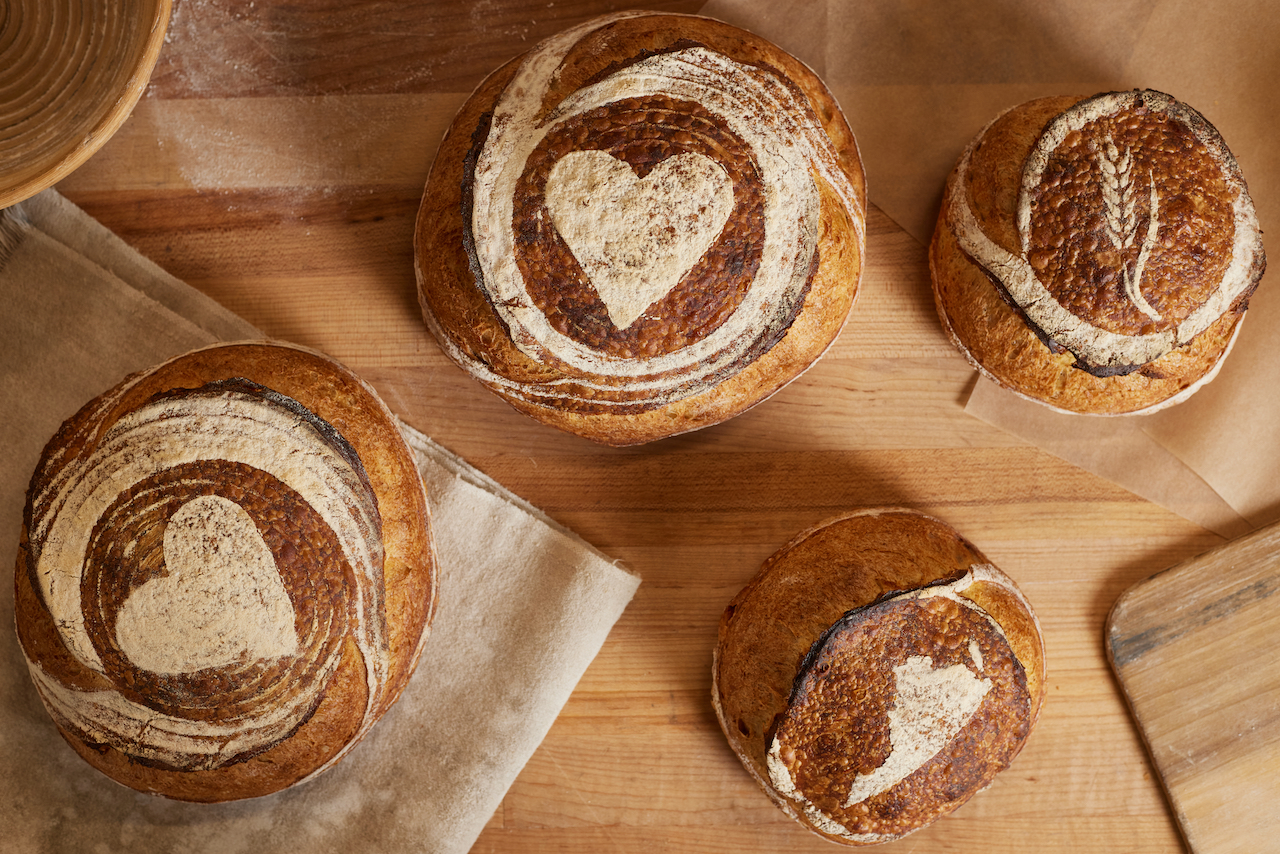
They do two kinds of stencils, using powdered sugar on the flat top of a chocolate cake, which works well for more detailed stencils, or baked into the flour on top of a loaf of their sourdough bread. “You lose definition with the bread because there’s steam involved,” Evans says, “so it works better with simpler images.”
For the first-time stenciler at home, they’ve created a simple stencil-making and bread-baking tutorial featuring a heart to encompass the spirit of their stenciling series.
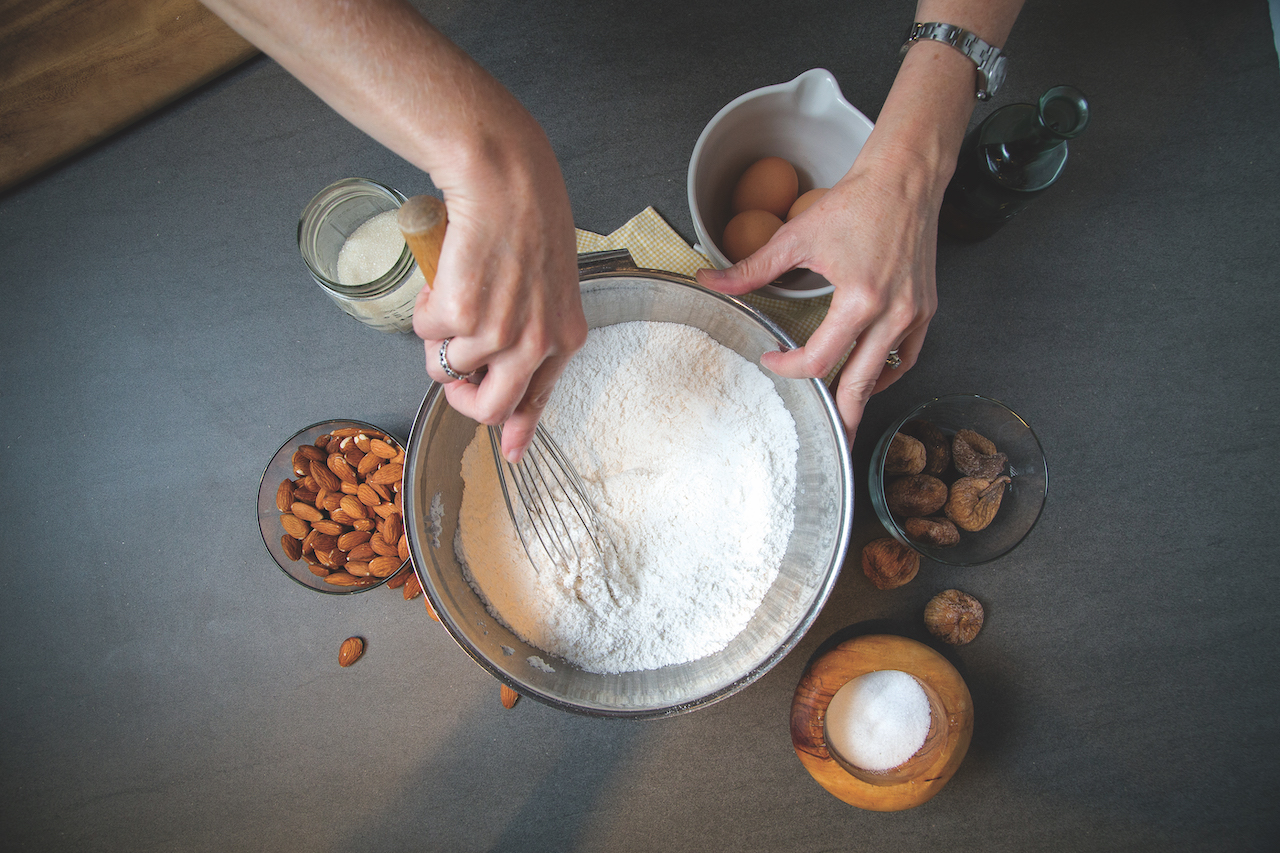
In a quartsized plastic container with lid, dissolve dried starter in warm water and let sit 1 hour. (Starter will not fully dissolve.) Add flour and stir well. Cover but leave a crack in lid seal and place in a warm spot for 24 hours. There should be some activity in the form of bubbles, and fermentation should have begun. After the 24 hours, stir well to be sure mixture has a uniform texture.
In another clean quart-sized container, place 15 grams (1 tablespoon) of the day-old mixture and dissolve it in 135 grams (½ cup plus 1 tablespoon) of room-temperature water. Discard the rest. Stir in flour and cover, leaving a crack in the lid. Mark the level on the outside of the container and store in a warm place for 12 to 18 hours, at which point mixture should be about double in size above the mark. If it isn’t, repeat this step until starter has doubled in size. (Note: If the starter is doubling in size in less than 12 hours, adjust recipe by using only 1 teaspoon of active starter. Prepared starter can keep up to a week in the fridge, but it will work best when used immediately.)
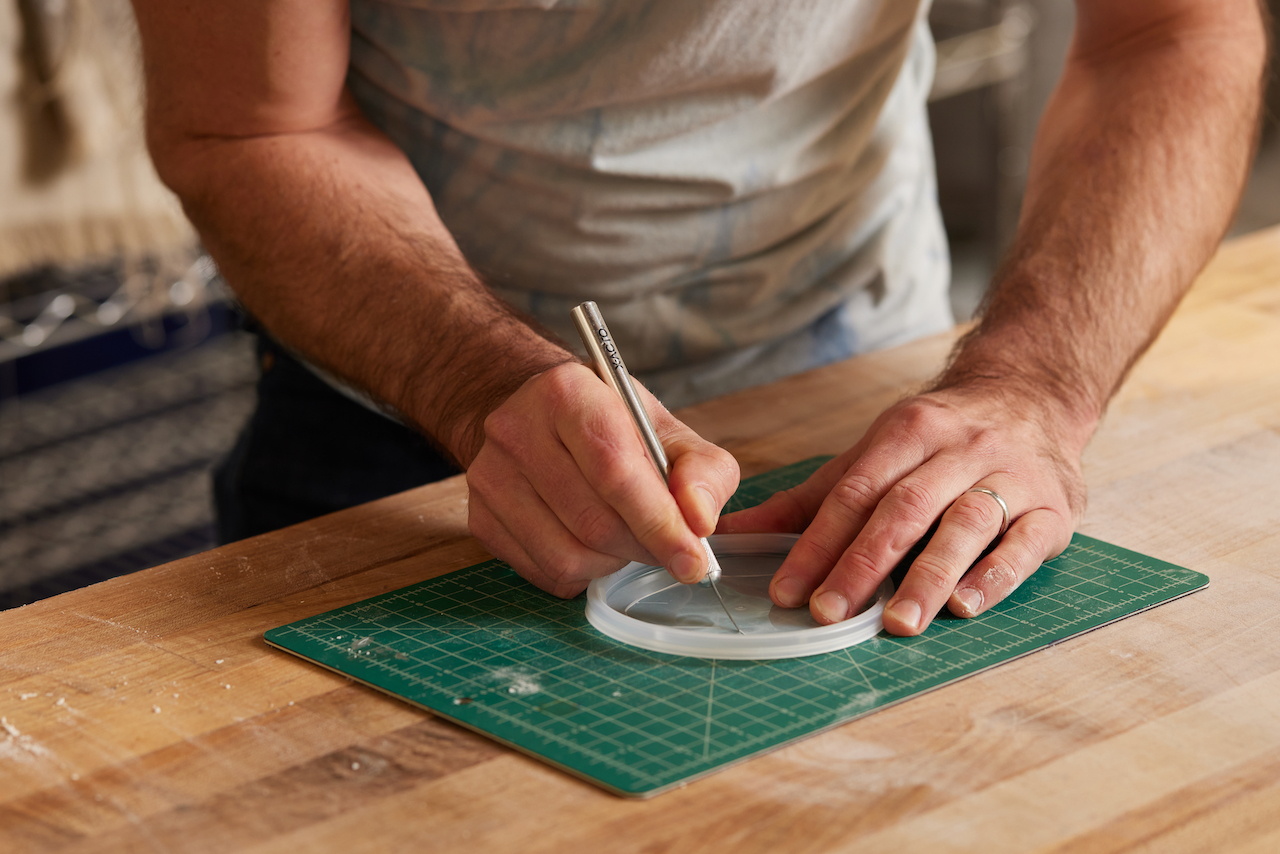
Draw or trace the outline of your stencil on a round plastic takeout container lid. For this heart stencil, you can create layers by cutting out smaller hearts from the first cutout and alternating positive and negative stencil elements in step 7.
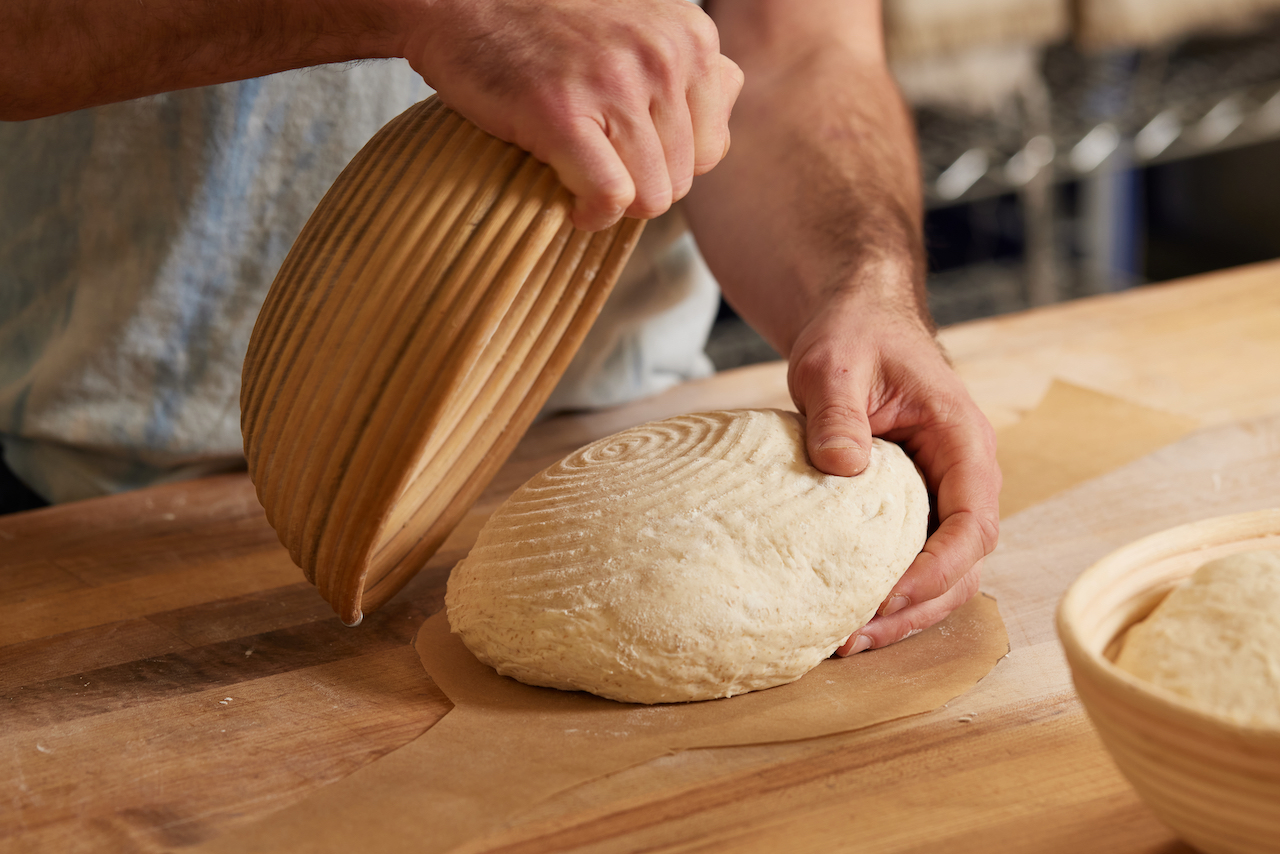
In a large bowl, mix all ingredients except salt until thoroughly combined. Cover with a towel and let sit for 30 minutes in a warm spot. Add salt and knead with your hands for 3 minutes in the bowl. Dough should feel sticky. Cover with towel and let rest for 1½ hours in a warm spot.
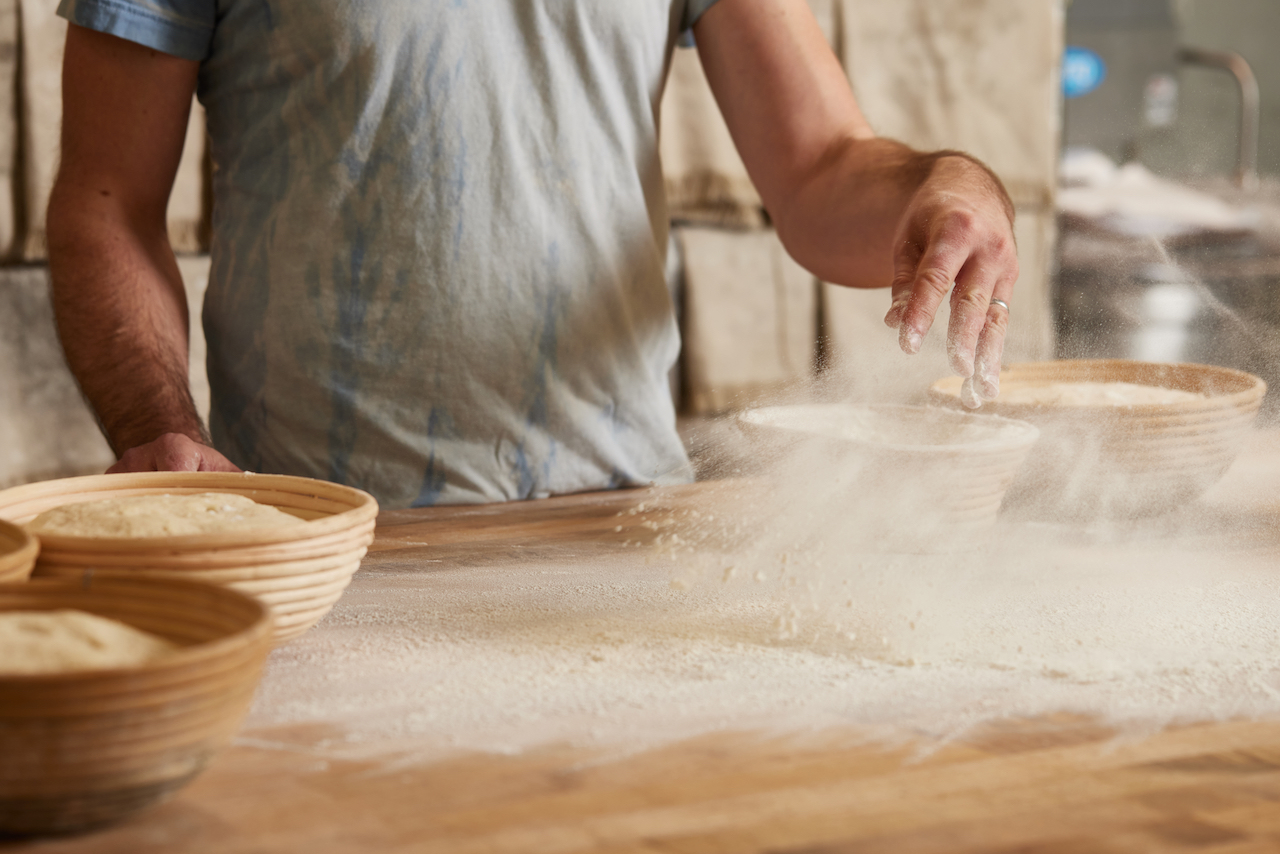
Sprinkle table or work surface lightly with flour and carefully scrape dough out onto it. Pull one side to the center, the other side to the center, and the top and bottom to the center. Flip dough over and put back into bowl. Let rest for 1½ hours in a warm spot. Repeat fold and let rest for 1 hour.

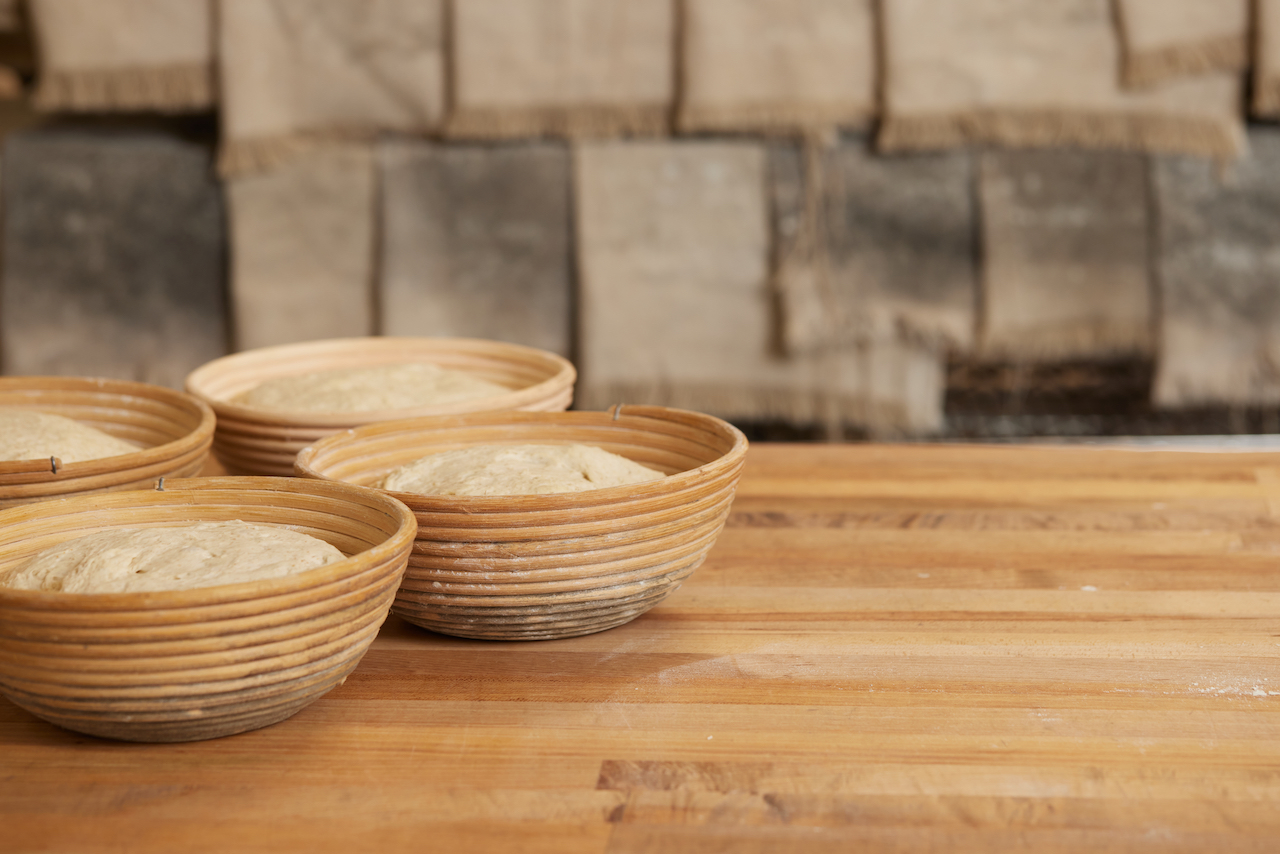
Prepare another bowl by lining it with a generously floured kitchen towel. Flour work surface and scrape dough out onto it; gently pull all dough to the center, leaving floured parts on the outside and carefully shaping dough into a round loaf. With the smooth side up, gently pull dough toward you while tucking dough under itself. Place loaf smooth side down into the floured towel for 1½ hours. (If you are not baking immediately, refrigerate dough overnight to bake the next day.)
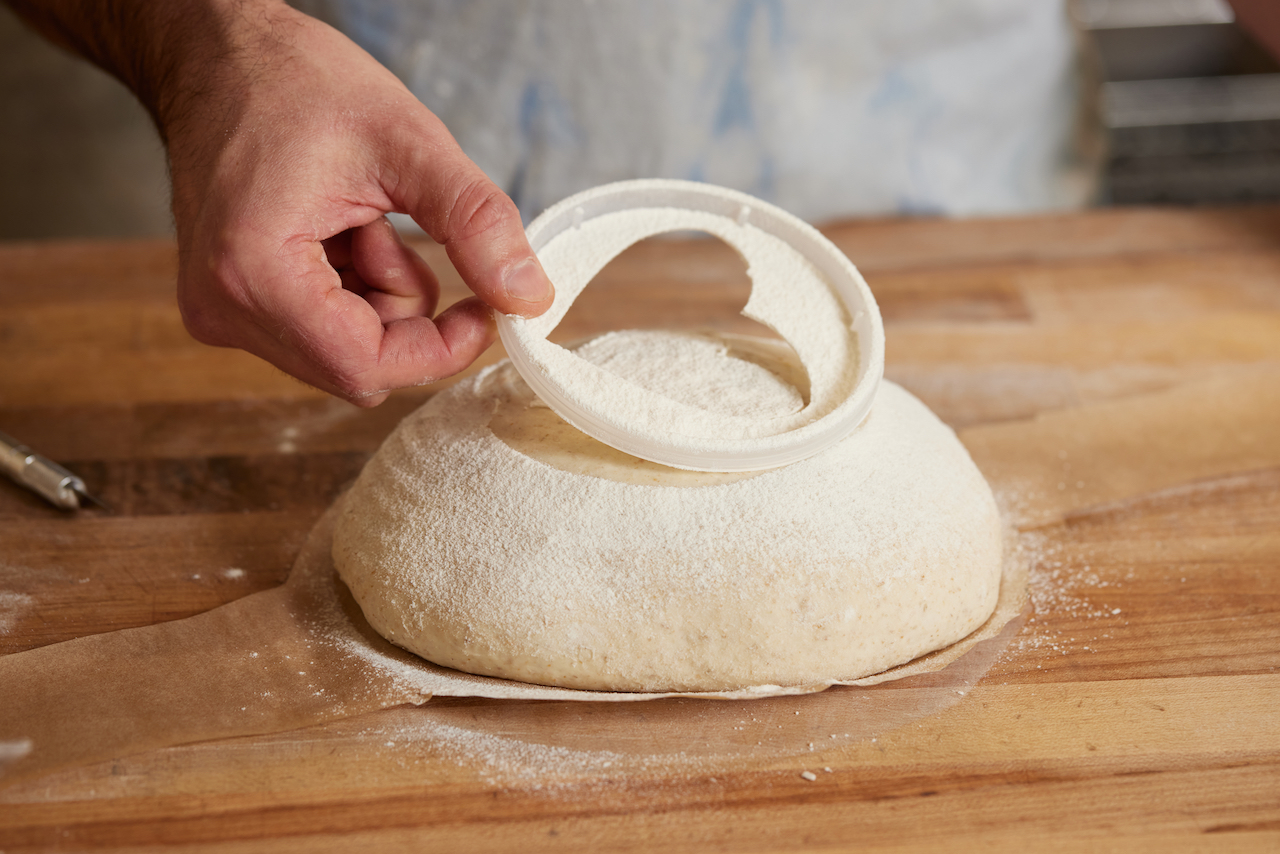
If you refrigerated bread overnight, take it out and let it come to room temperature before baking. Meanwhile, preheat oven to 450 degrees and place a dutch oven or a heavy pot with a tight-fitting lid in oven to heat for 45 minutes. Right before baking, flip loaf so the smooth side is up onto a piece of parchment paper to help transfer dough to pot. Spritz prepared dough with a mist of water so it’s just tacky enough to pick up flour, but not wet. Place stencil lightly on top. Measure ¼ cup of flour into a fine-mesh strainer and carefully sift a thin layer over the bread and stencil. (Too much will cause flour to smear; too little and it will disappear while baking). Carefully remove stencil and score bread by making four ½-inch-deep cuts with a sharp knife around stenciled area; this keeps bread from bursting out while baking.

Carefully take hot dutch oven out of oven and place stenciled loaf on parchment into it. Replace lid and return pot to oven. Bake for 20 minutes with lid on, then remove lid and continue to bake for 20 more minutes. Take pot out of oven and immediately dump loaf out onto a wire rack, being careful not to smudge the stencil. (It should fall out easily, but if it gets stuck, run a wooden spoon around the edge to loosen.) Peel off parchment from bottom of loaf and discard.