Culinary Class
A Beginner’s Guide to Homemade Jam
By: The Local Palate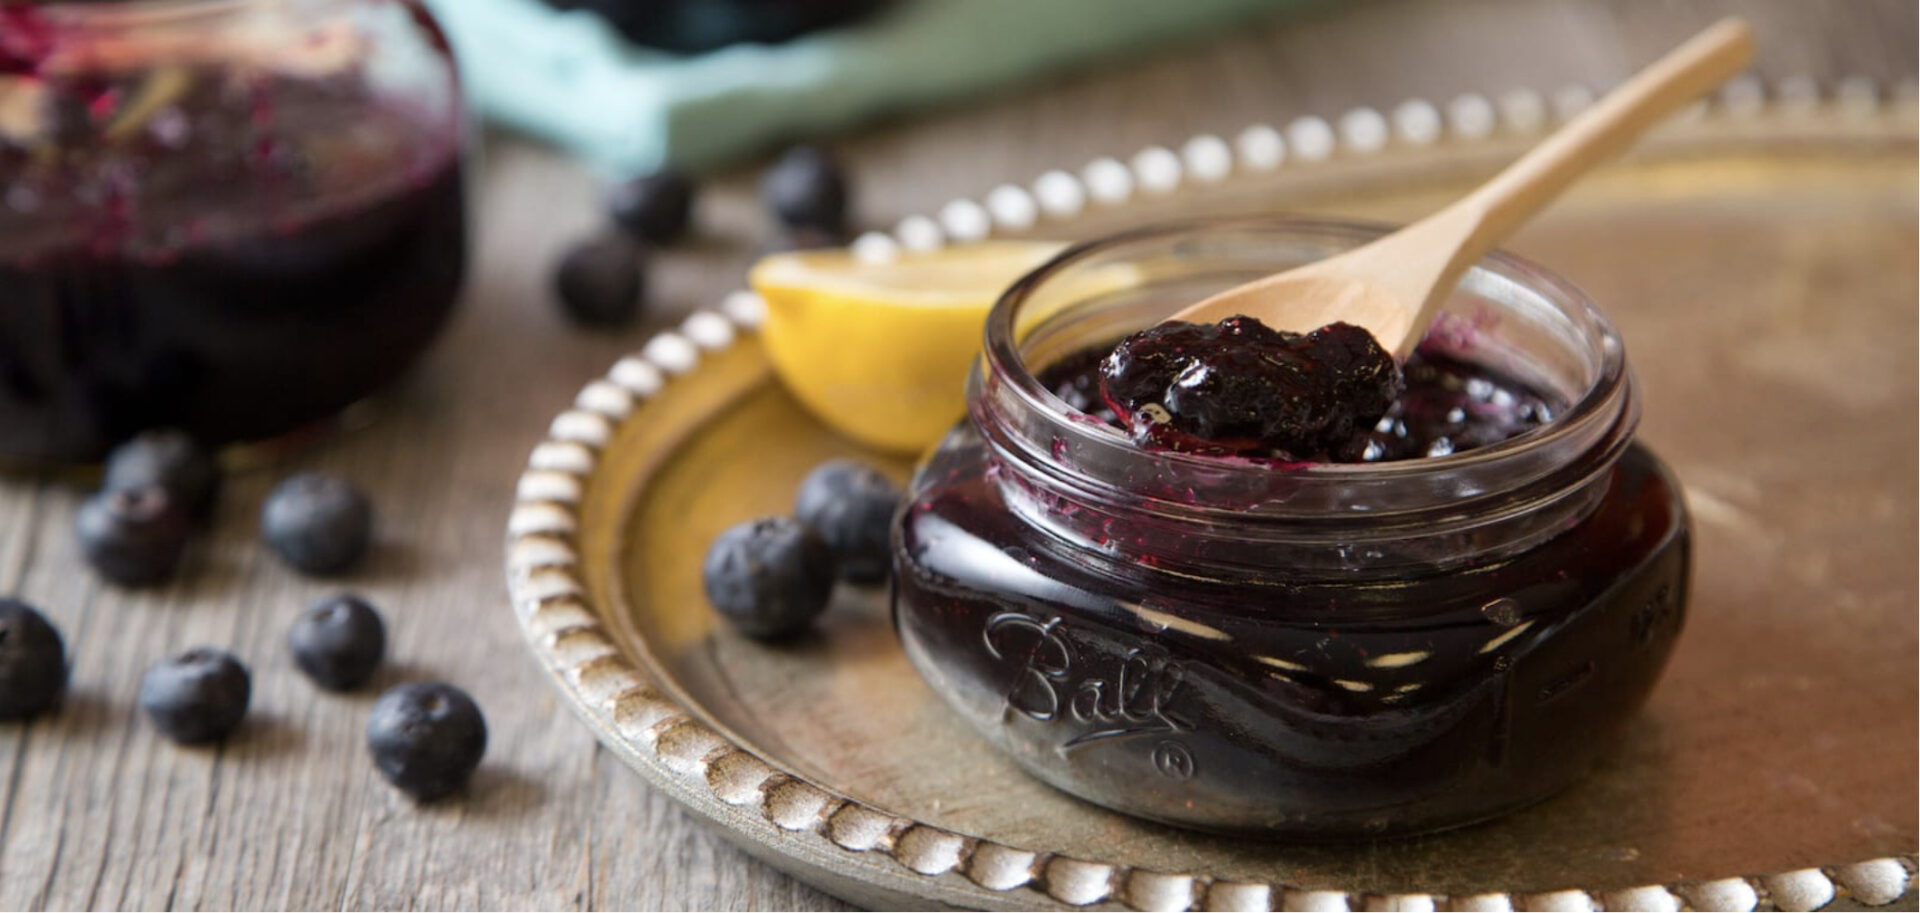
Though canning originated from necessity, as a means of preservation and sustenance through cold months, the practice today is the a joyful seasonal routine for any gardener or eager farmers market shopper. After all, few things are more appealing than capturing produce, namely strawberries, peaches, and blueberries, at their peak. Follow this step-by-step guide for homemade jam, the best way to preserve summer flavor year-round.
Tips for Canning Homemade Jam
- Use jars with metal lids and rims, this will make checking for a proper seal easier.
- Jars often make a popping sound once they are removed from the boiling water and will have a slight indention in the middle of the lid. If your lids come off, or do not have the indention, then you do not have a proper seal and the jars must be reprocessed.
- Metal rims are re-usable, but new caps are necessary each time.
- Place a trivet or round cake rack on the bottom of the pot to keep jars from rattling around during processing.
- Once jars are removed from the boiling water, do not place them directly onto a stone surface or they could crack. Instead, place them on a cutting board, towel, or other heat-protected surface.
- Home-processed cans keeps for up to 1 year, but if you spot mold in an unopened jar, consider it spoiled.
- Altitude affects cooking times, too; the times suggested in this recipe reflect sea-level altitudes, so simply adjust for your altitude with the table provided below.
Blueberry Vanilla Jam

ingredients
6 cups blueberries
3½ cups sugar
1 vanilla bean
½ teaspoon butter
4 tablespoons lemon juice
2 teaspoons lemon zest
adjustments for increased altitude
1001-3000 feet: +5 minutes
3001-6000 feet: +10 minutes
6001-8000 feet: +15 minutes
8001-10000 feet: +20 minutes
step 1
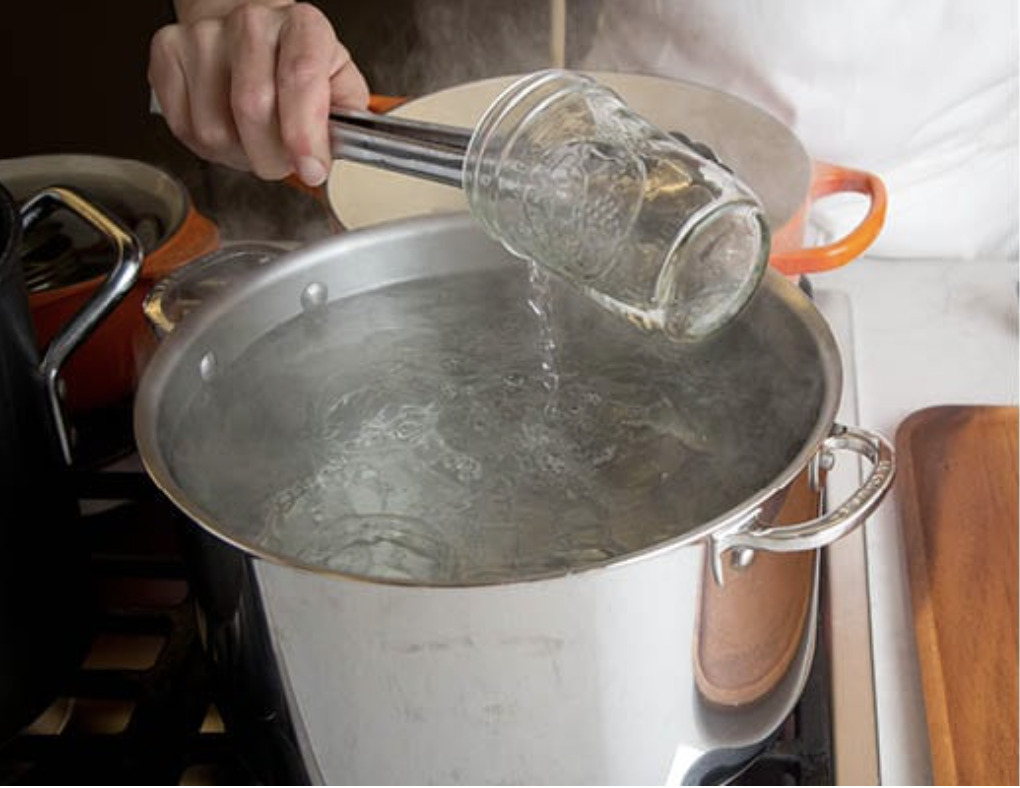
Wash 4 small jars then sterilize in simmering water for at least 15 minutes. Let rest on a dry, clean towel. Keep the bands and lids in hot water, but do not allow the water to boil. Place a plate in the freezer for later.
step 2
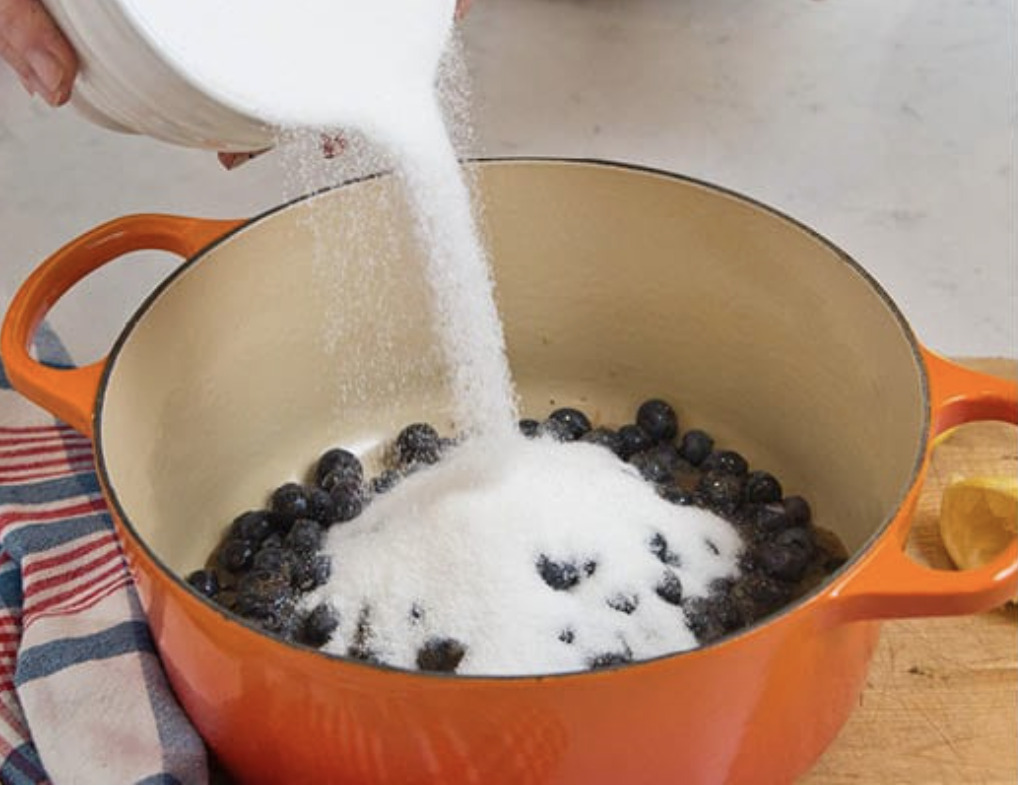
Rinse berries and remove any spoiled fruit, stems, or underripe fruit. Use potato masher or fork to smash half the fruit. Combine with sugar, vanilla bean, butter, lemon juice, and lemon zest in a large non-reactive pot such as stainless steel or enameled cast iron.
step 3
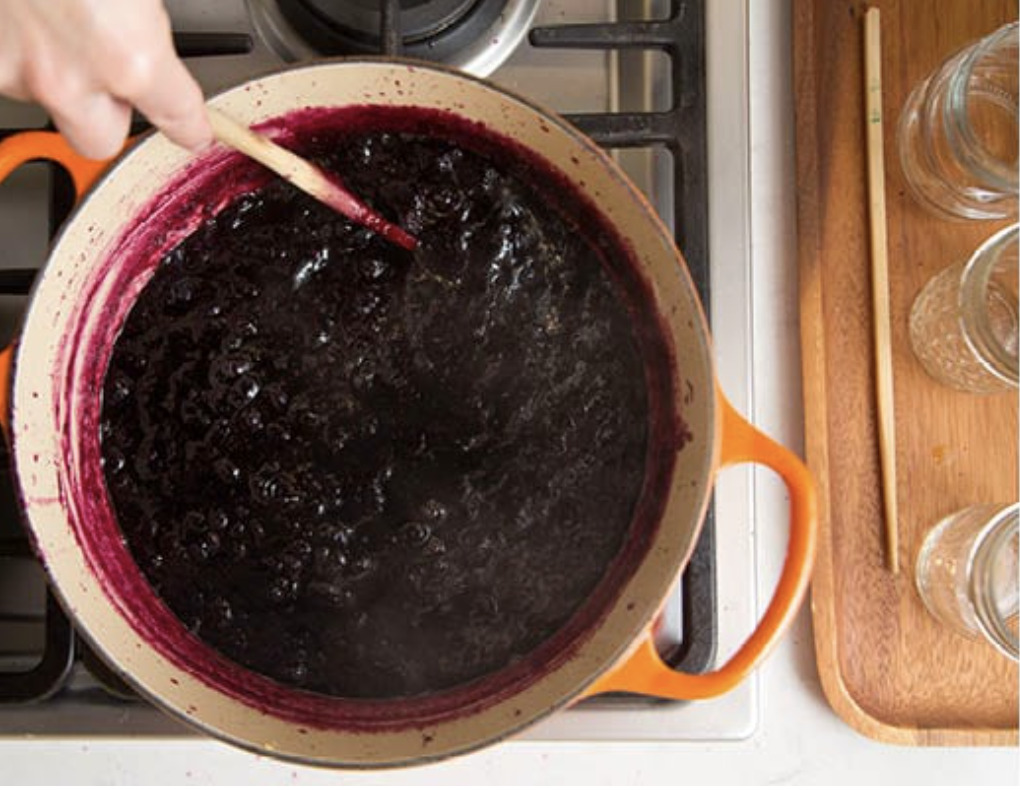
Cook berry mixture on medium heat until sugar dissolves. Increase heat and cook to gel point, approximately 20-30 minutes. Berries will begin to look glossy when gel point is reached.
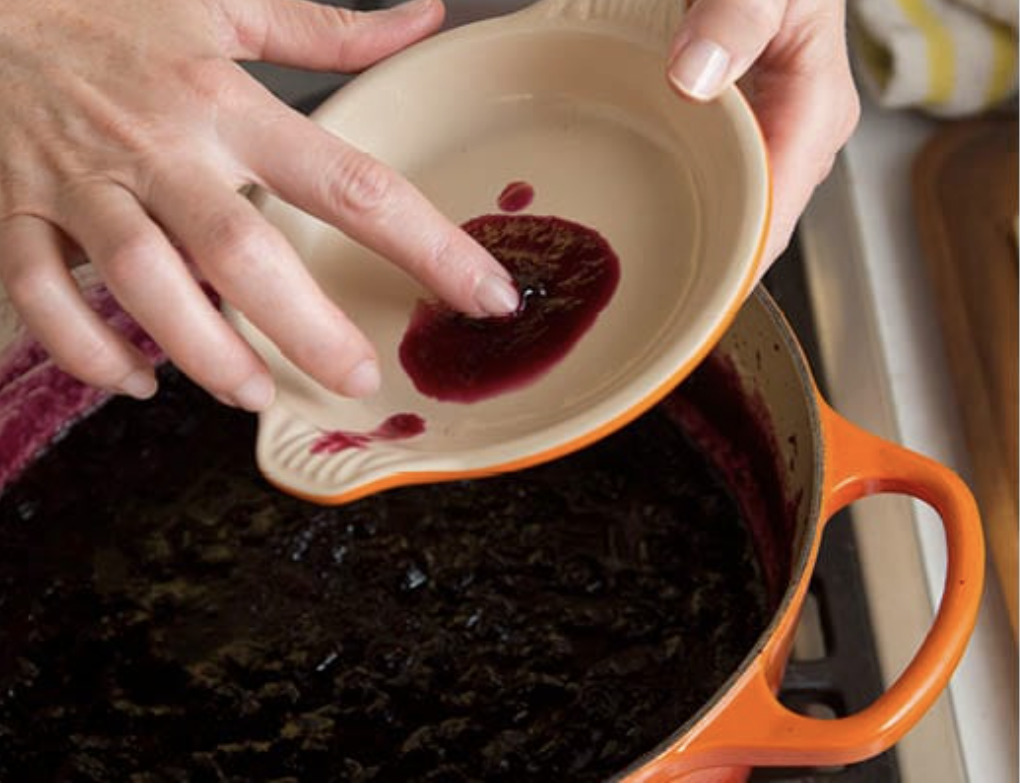
step 4
Test gel point by placing 1 teaspoon of jam on the chilled plate. Once jam has cooled, surface should wrinkle when pressed by your finger. If it does not wrinkle, continue cooking then test again.
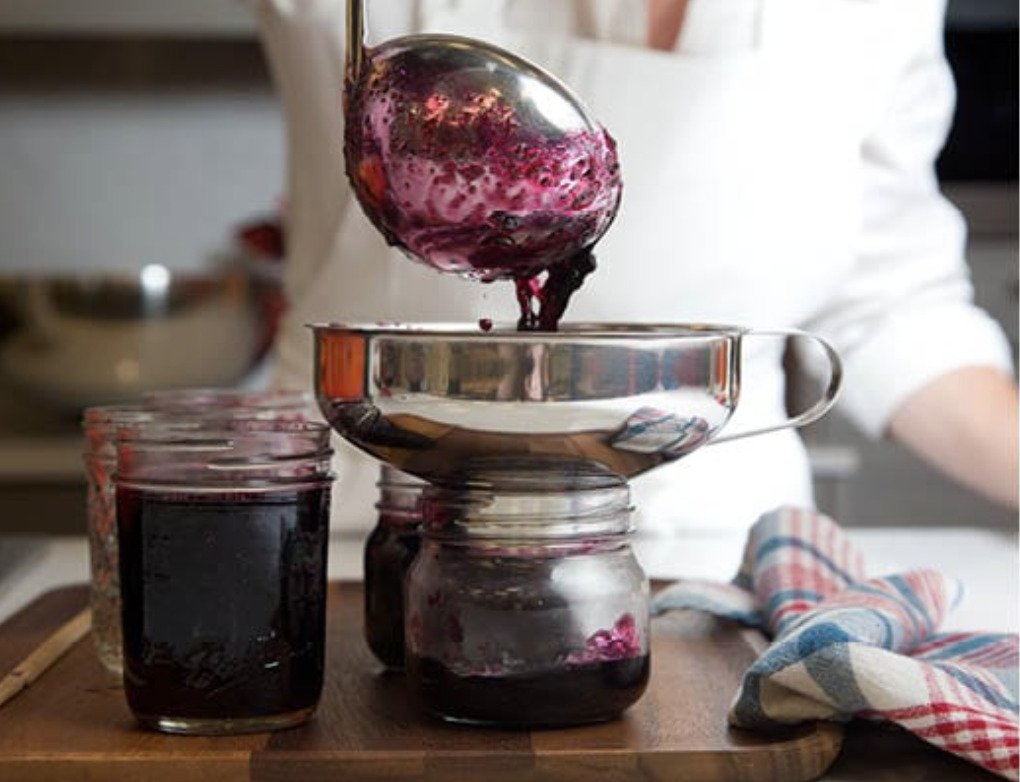
step 5
Ladle jam into jars with wide-mouthed funnel. Leave ¼ inch between rim and jam to ensure proper seal. Stir jam to remove air bubbles. Wipe rims down and replace bands and lids on jars. Do not over-tighten bands.
Related Recipes
Recipes
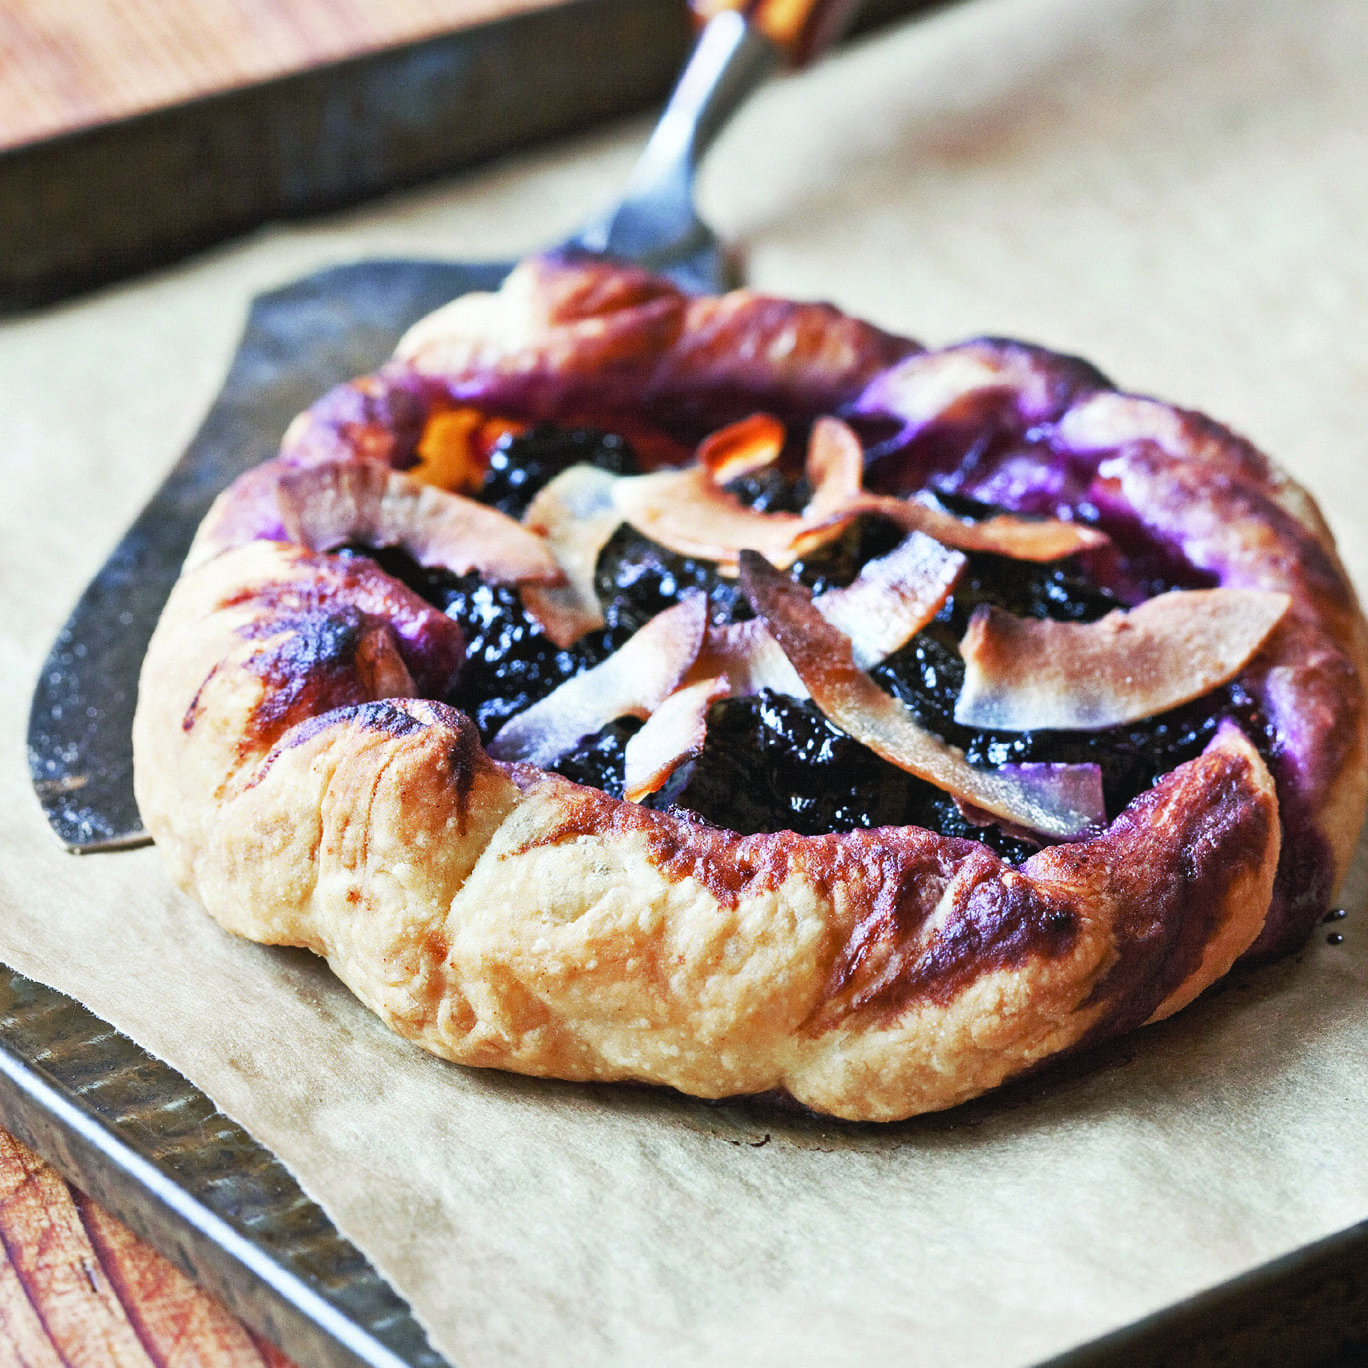
Blueberry Jam Tart with Toasted Coconut
A simple blueberry jam tart recipe that yields an impressive dessert with puff pastry, ripe blueberries, and large toasty coconut flakes.
Recipes
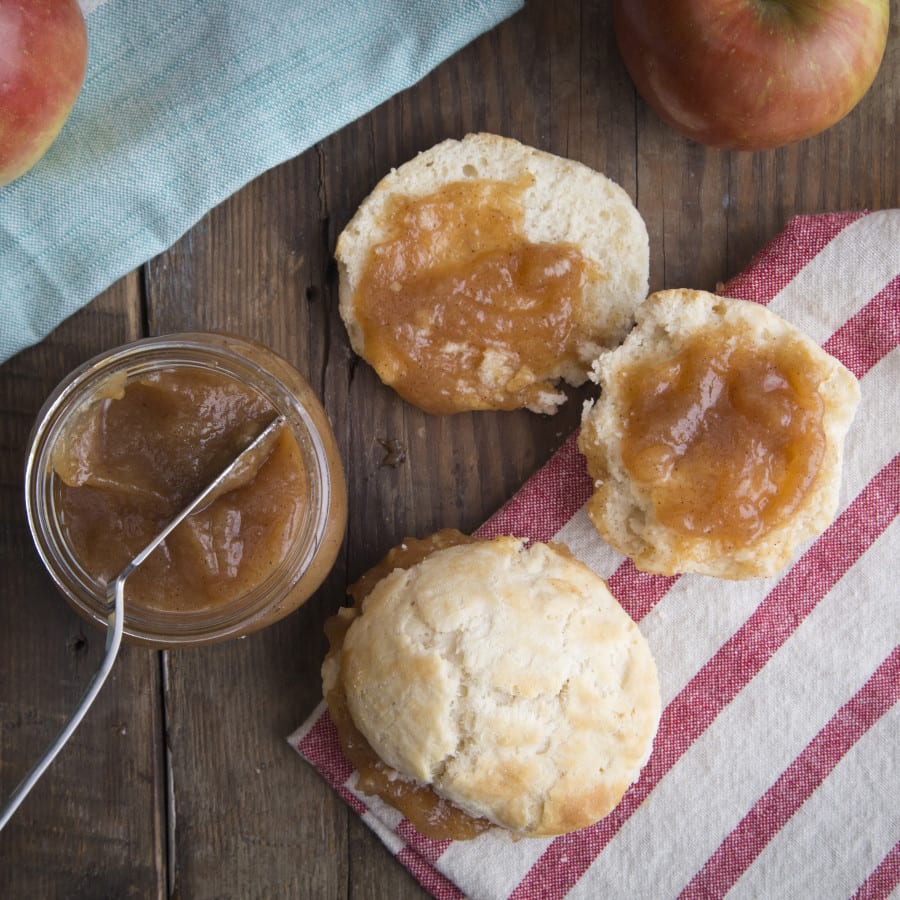
A Beginner’s Guide to Apple Butter
While jams and jellies are an oft-used way to preserve the flavors of a season, fruit butters are a less expected, but no less delicious, way to extend the harvest. A thick smear of apple butter on a warm [...]
Recipes
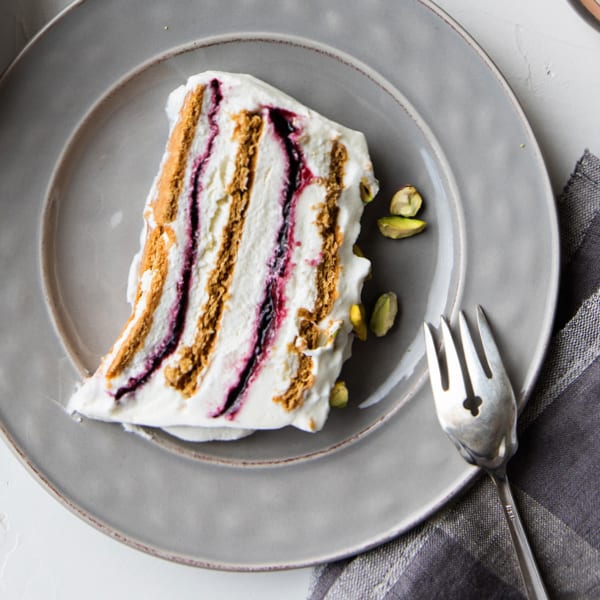
Blackberry Jam Icebox Cake
A simple summer recipe, this blackberry jam icebox cake combines sweet, salty, and creamy flavors for a refreshing dessert


